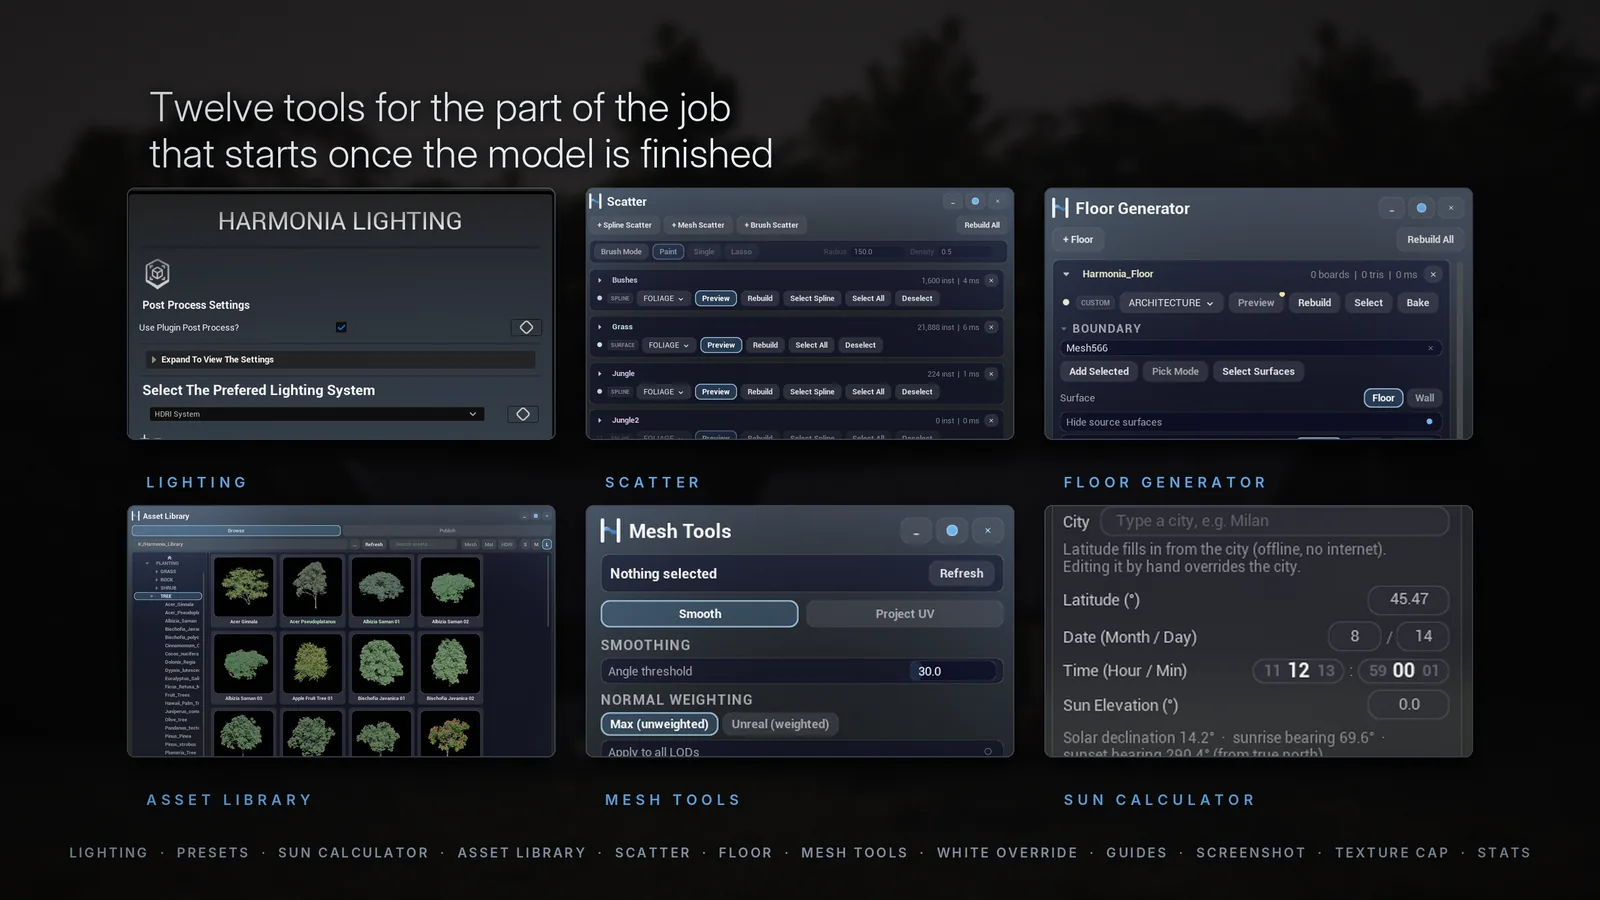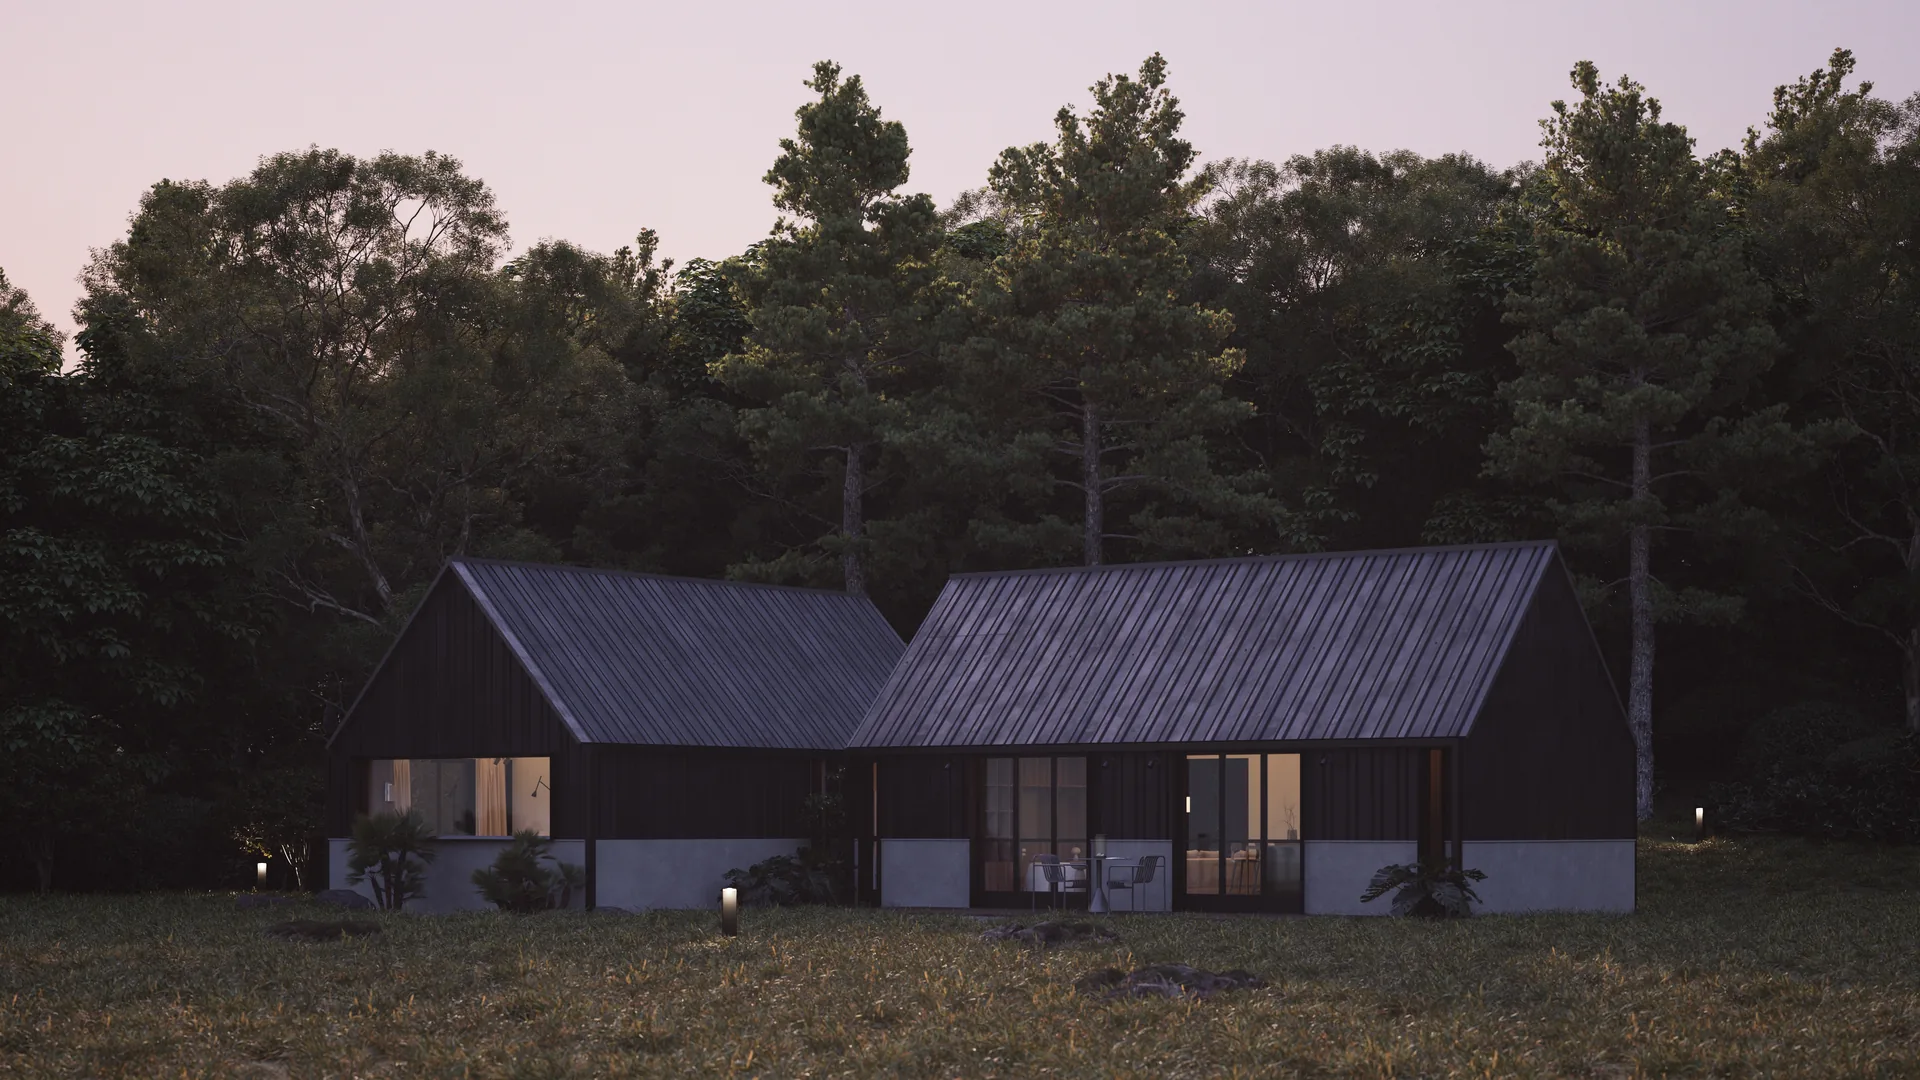
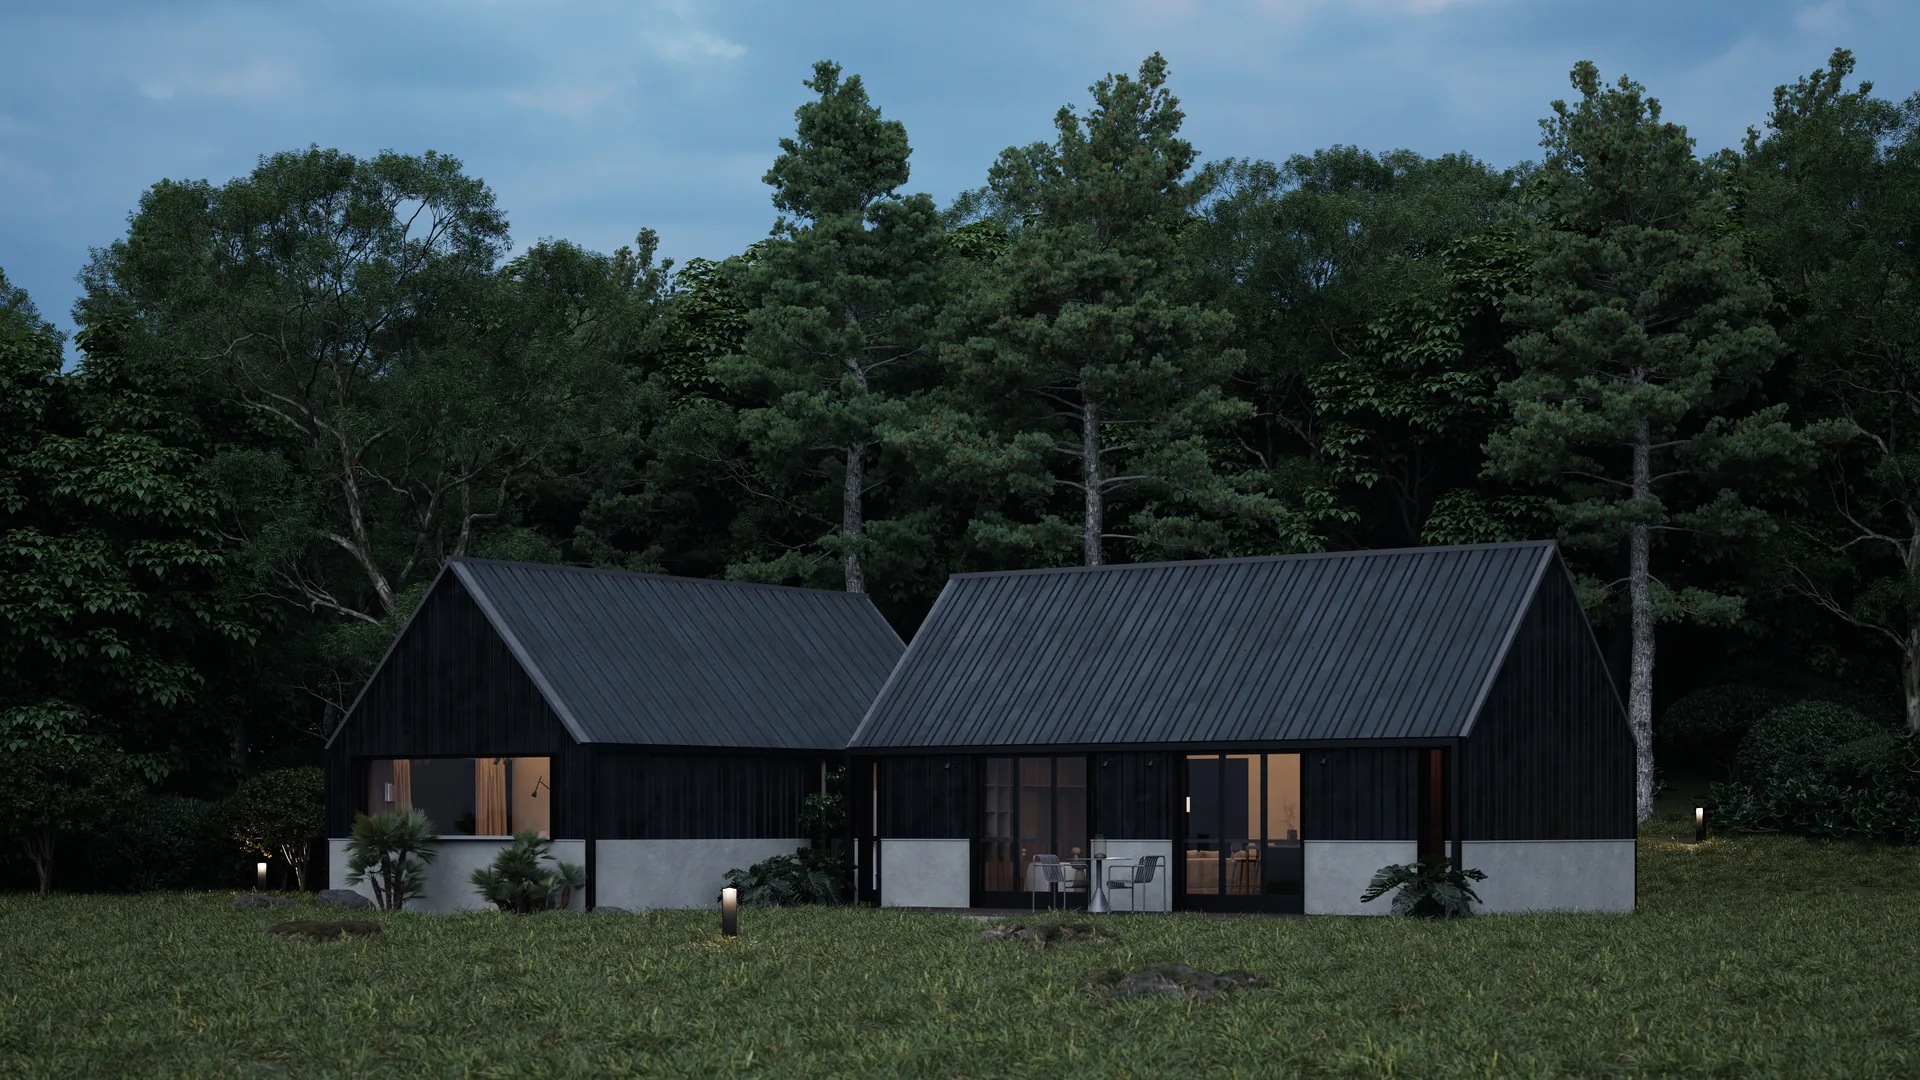
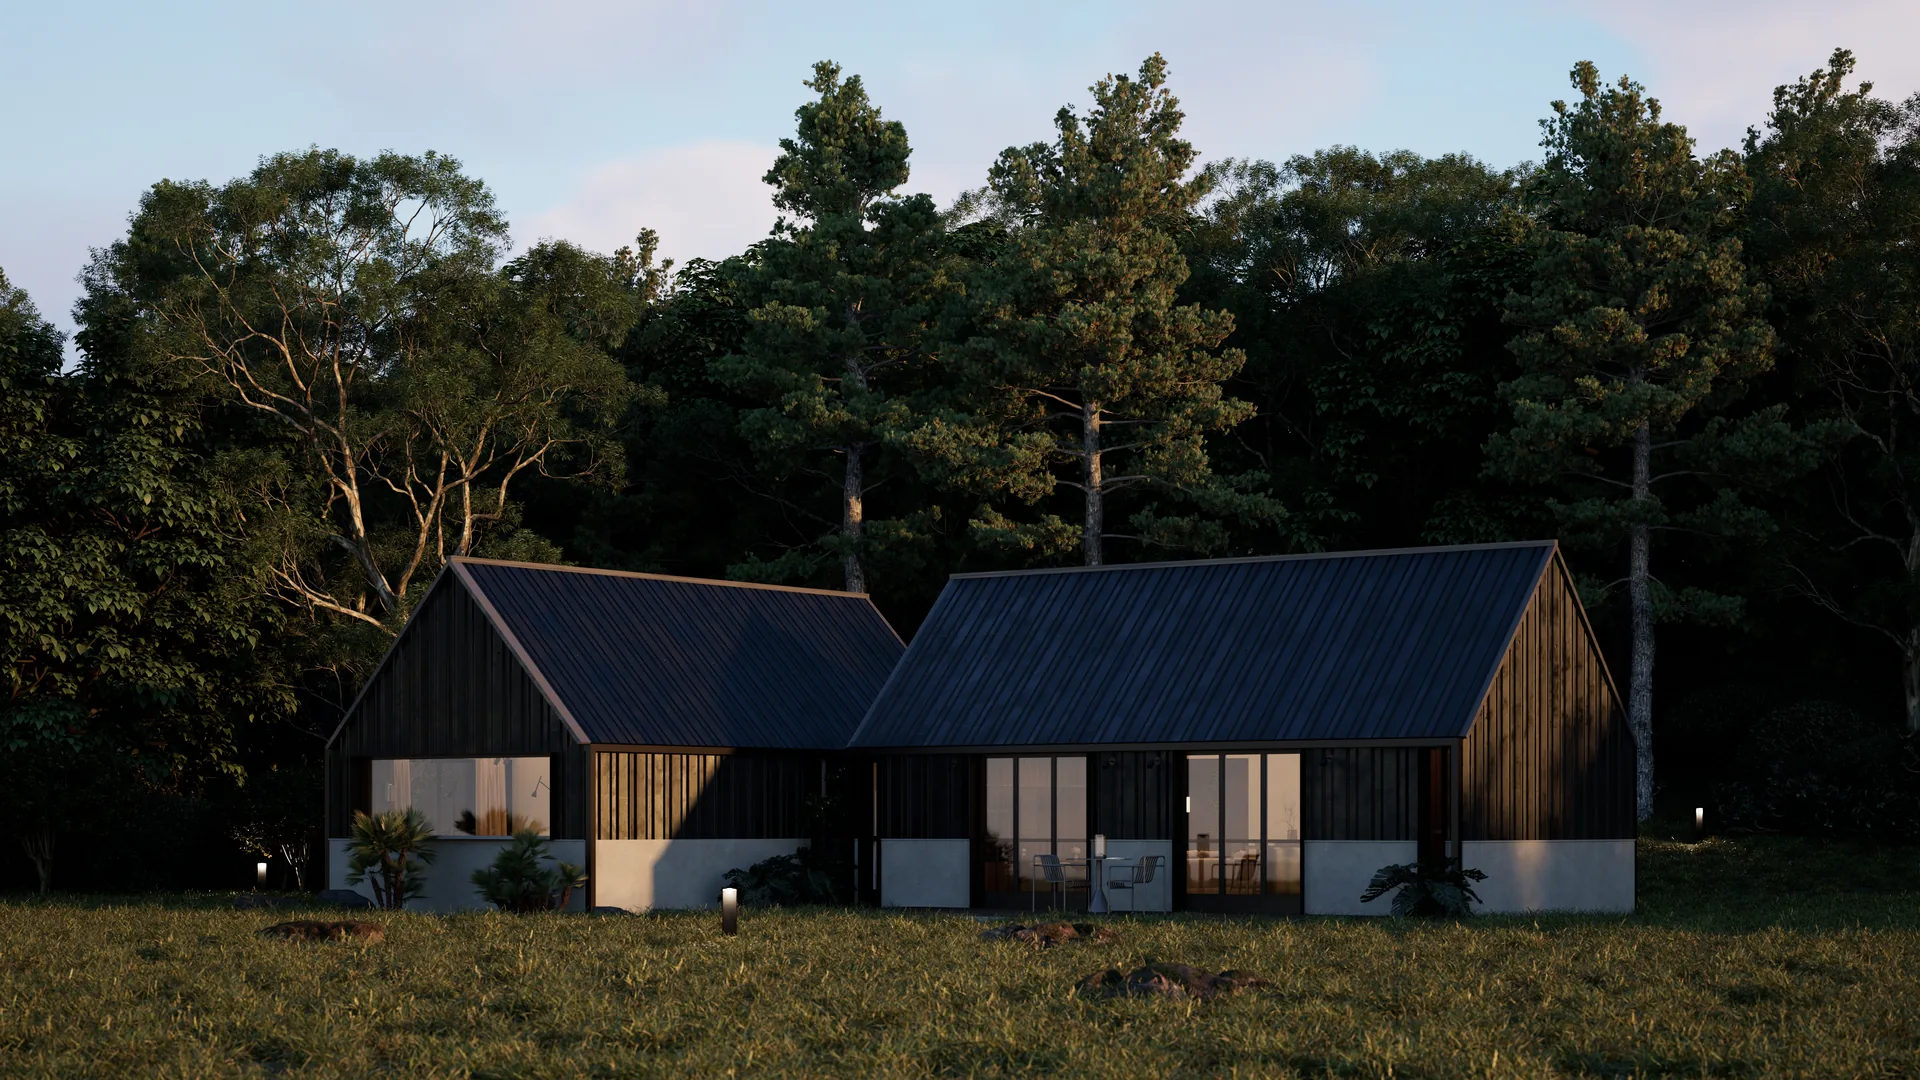
Harmonia covers the part of architectural visualisation that starts once the model is finished — getting light into a scene, building the things the model does not include, judging the frame honestly, and getting a clean image out of the Path Tracer without fighting it.
It comes in two halves. Part One is lighting: one Blueprint rig driven from one dockable panel, with two complete lighting systems that keep their settings independently of each other. Part Two is everything else, reached from a compass in the corner of the level viewport — the asset library, scatter, floor and mesh tools, framing guides, clay studies, the sun calculator and the capture tools.
The guide covers both, and it is written to be used rather than read: what each thing is for in plain terms, the exact click path to open it, a walkthrough for the most common job, a table of the settings that matter with their defaults, and a watch out list of the traps — the things that otherwise cost an afternoon the first time you meet them.
See it working
Harmonia — User Guide
DownloadWhat is in it
Every tool has its own chapter, arranged the same way.
Lighting
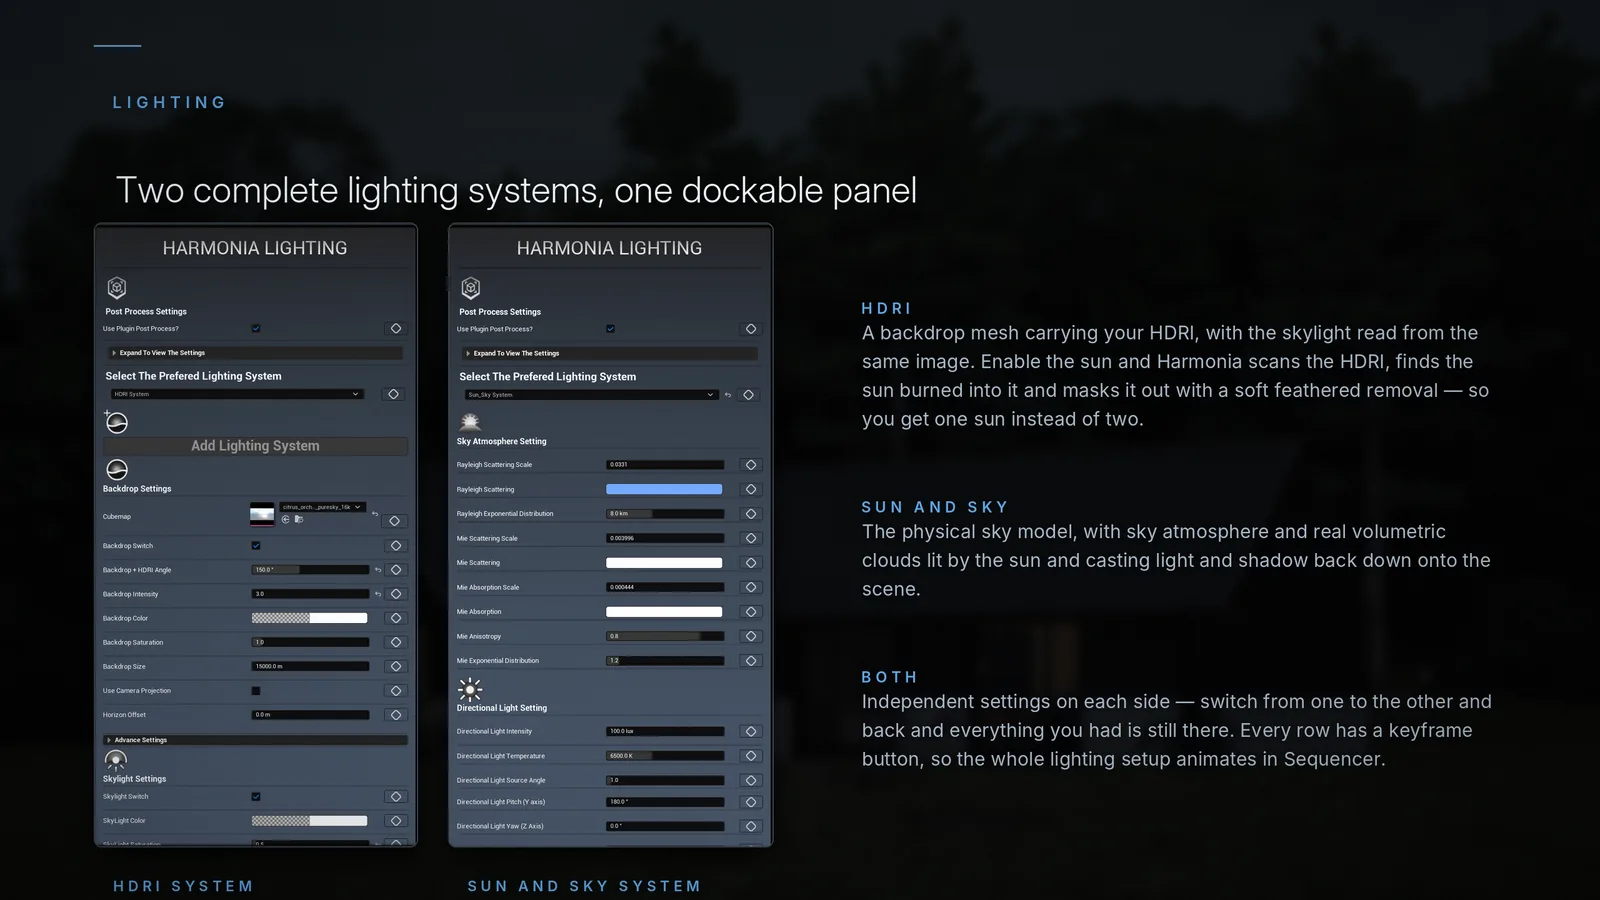
One Blueprint rig, driven from one dockable panel. Two complete lighting systems — an HDRI backdrop with the skylight read from the same image, or the physical sky model with atmosphere and volumetric clouds. Each keeps its own settings, so switching between them never costs you the other one. Then every row in the panel keyframes, so the whole setup animates in Sequencer.
- The lighting rig and the widget
- Post Process Settings
- Choosing your lighting system
- The Backdrop
- The Skylight
- The Directional Light
- Exponential Height Fog
- Sky Atmosphere
- Volumetric Clouds
- Animating lighting in Sequencer
Getting around
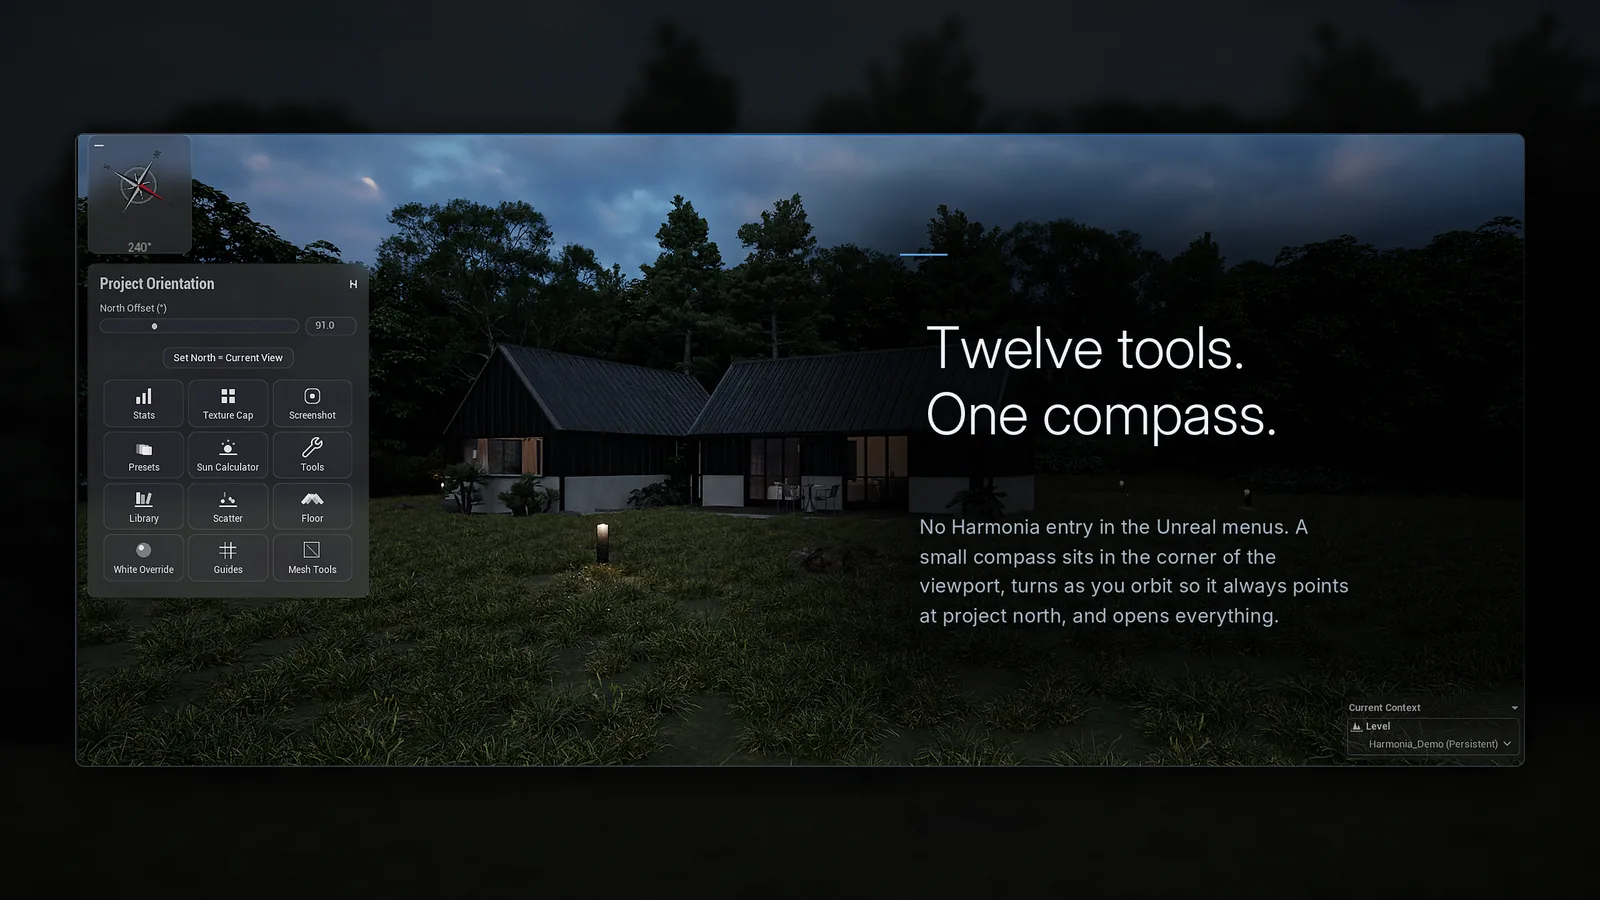
Nothing lives in Unreal's menus. A small compass sits in the corner of the level viewport, turns as you orbit so it always points at project north, and opens everything else.
- The compass and the Harmonia panel
Building the scene
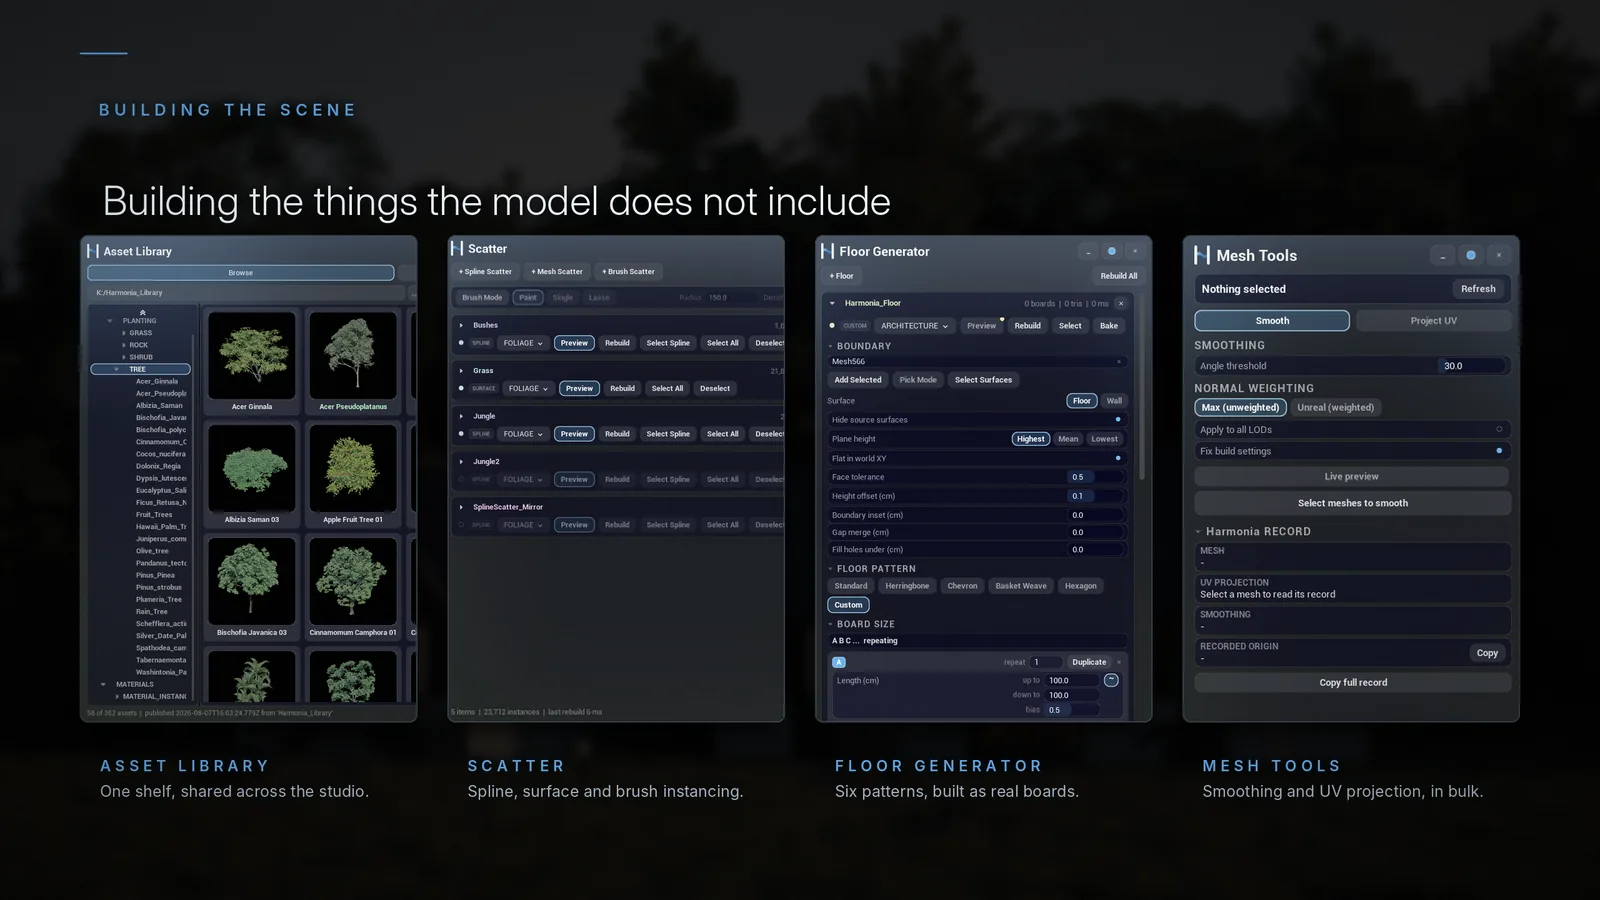
The parts the model does not come with. A shared asset shelf the whole studio publishes into, scatter for planting instances by density rather than by hand, a floor generator that makes real parquet and tile geometry instead of a texture, and the two repairs every Datasmith import needs.
- Asset Library
- Scatter
- Floor Generator
- Mesh Tools
Judging the shot
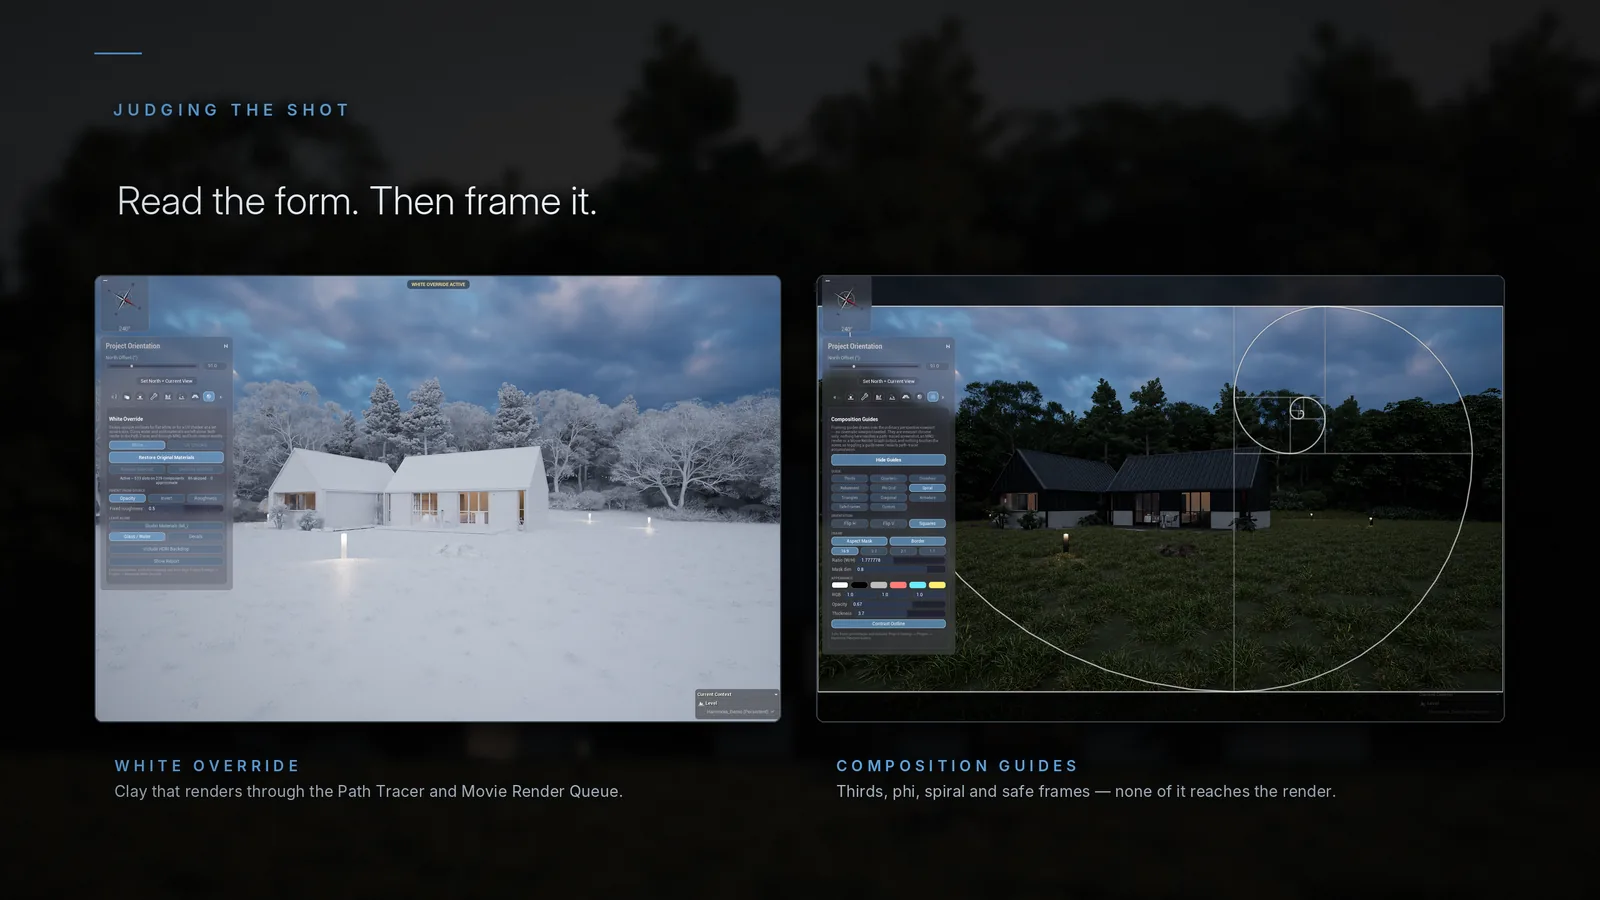
Reading a frame honestly. A clay override that is a real material assignment rather than a viewport mode — so it renders through the Path Tracer exactly as you see it — and framing constructions drawn over the ordinary perspective view that never reach a render.
- White Override
- Composition Guides
Sun and presets
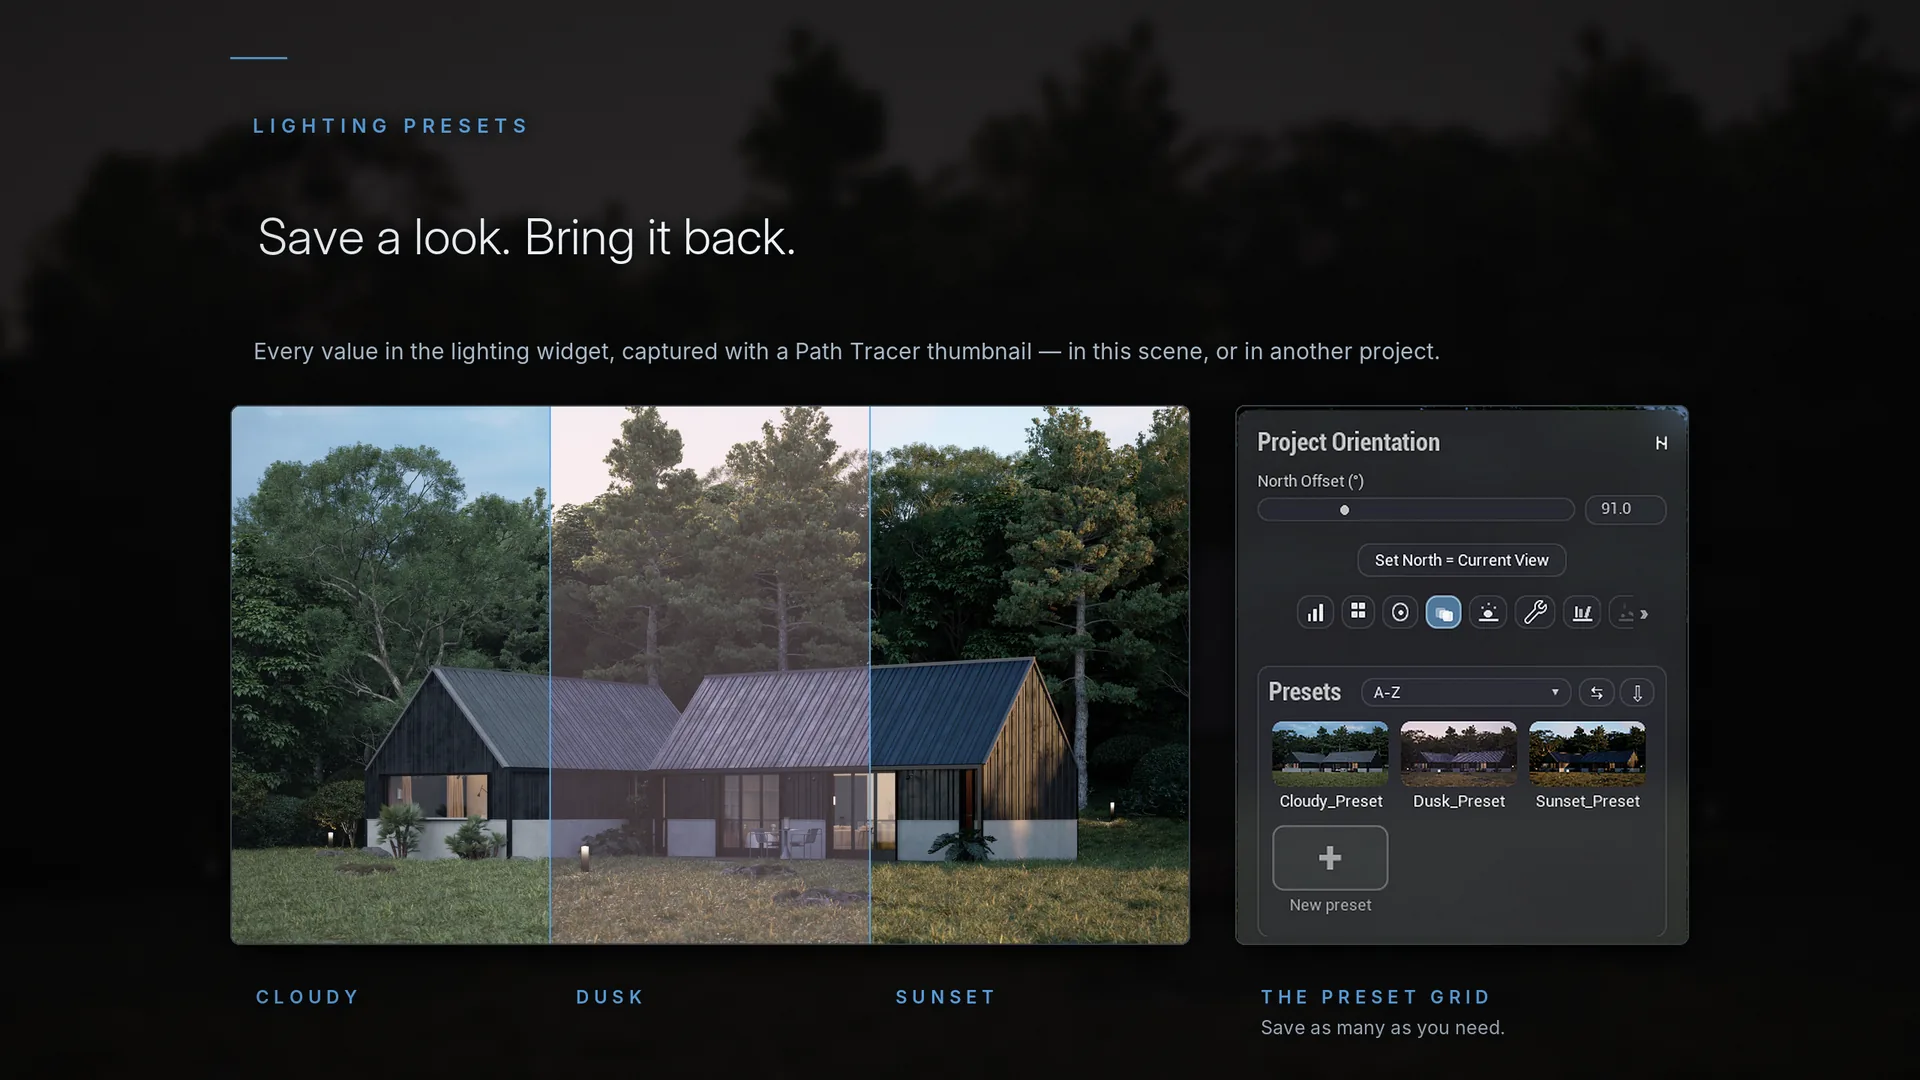
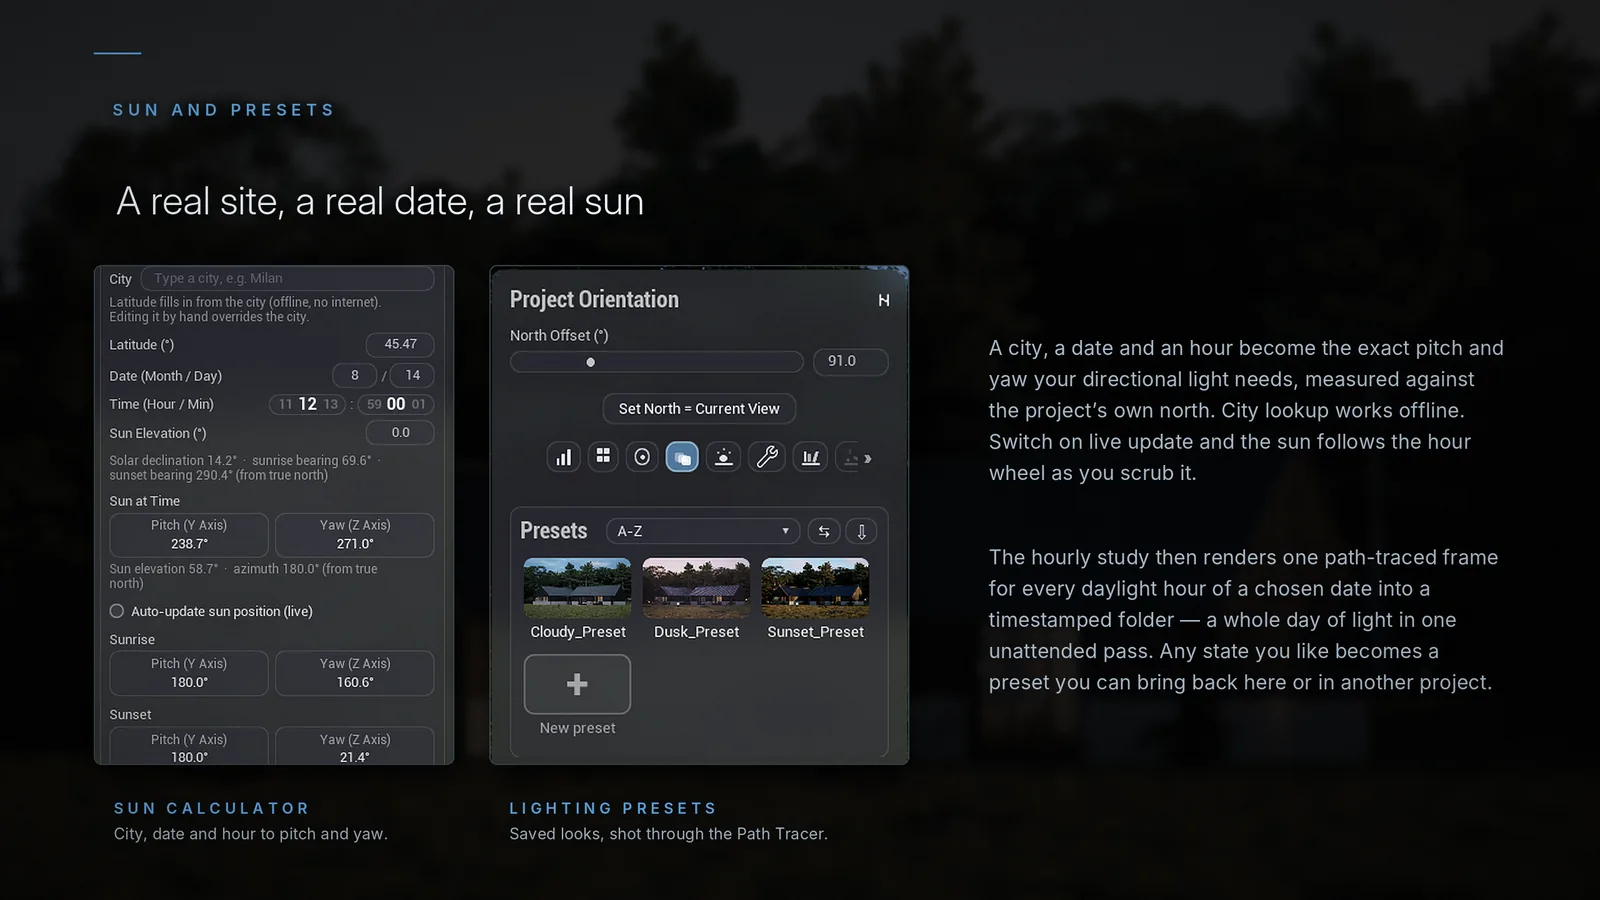
A real site, a date and a time, turned into the exact pitch and yaw your directional light needs, measured against the project's own north. Plus a study that renders every daylight hour of a chosen date unattended, and a thumbnail library of saved lighting states.
- Sun Calculator and Hourly Sun Study
- Lighting Presets
Getting images out
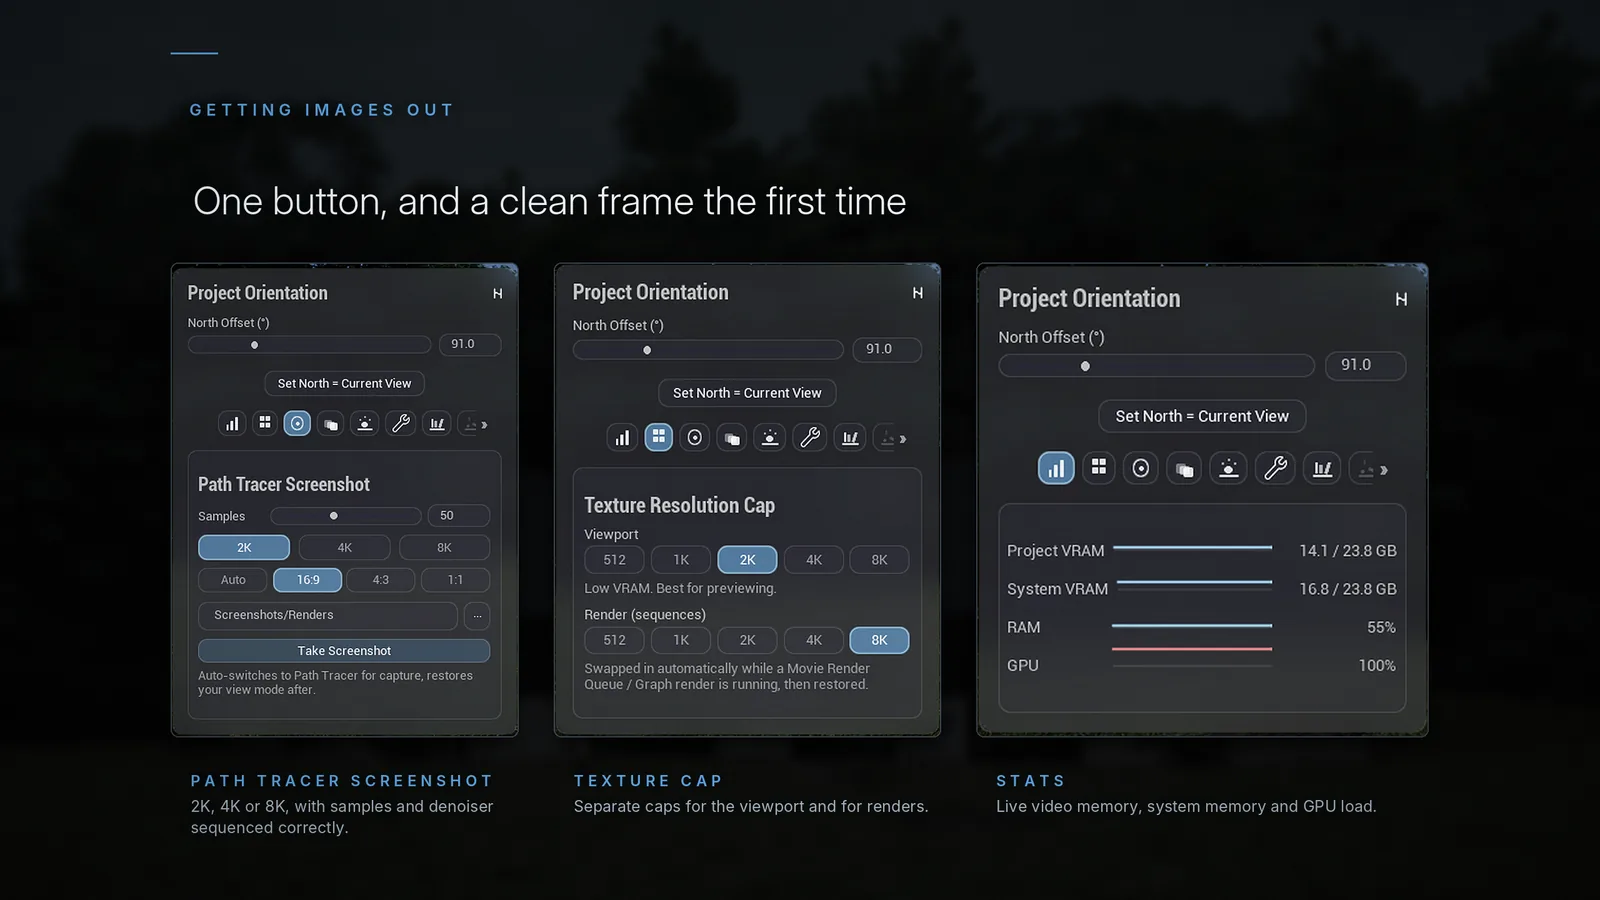
Path-traced stills from the viewport camera with the sample count and denoiser sequenced properly, a texture cap that keeps the viewport cheap and swaps itself out when a render starts, and a live read-out of what memory is doing before the editor starts crawling.
- Screenshot
- Texture Cap
- Stats
Production
The housekeeping. One click puts the console variables a foliage-heavy path-traced sequence needs onto the sequence itself, foliage culling thins the editor viewport without touching the render, and a set of guards runs with no interface at all — including the one that stops you quietly editing a shared lighting level everyone else depends on.
- The Tools tab
- Safety nets that run by themselves
- Appendix: all settings, in one place